Showing posts with label porcini. Show all posts

Friday, February 14, 2014

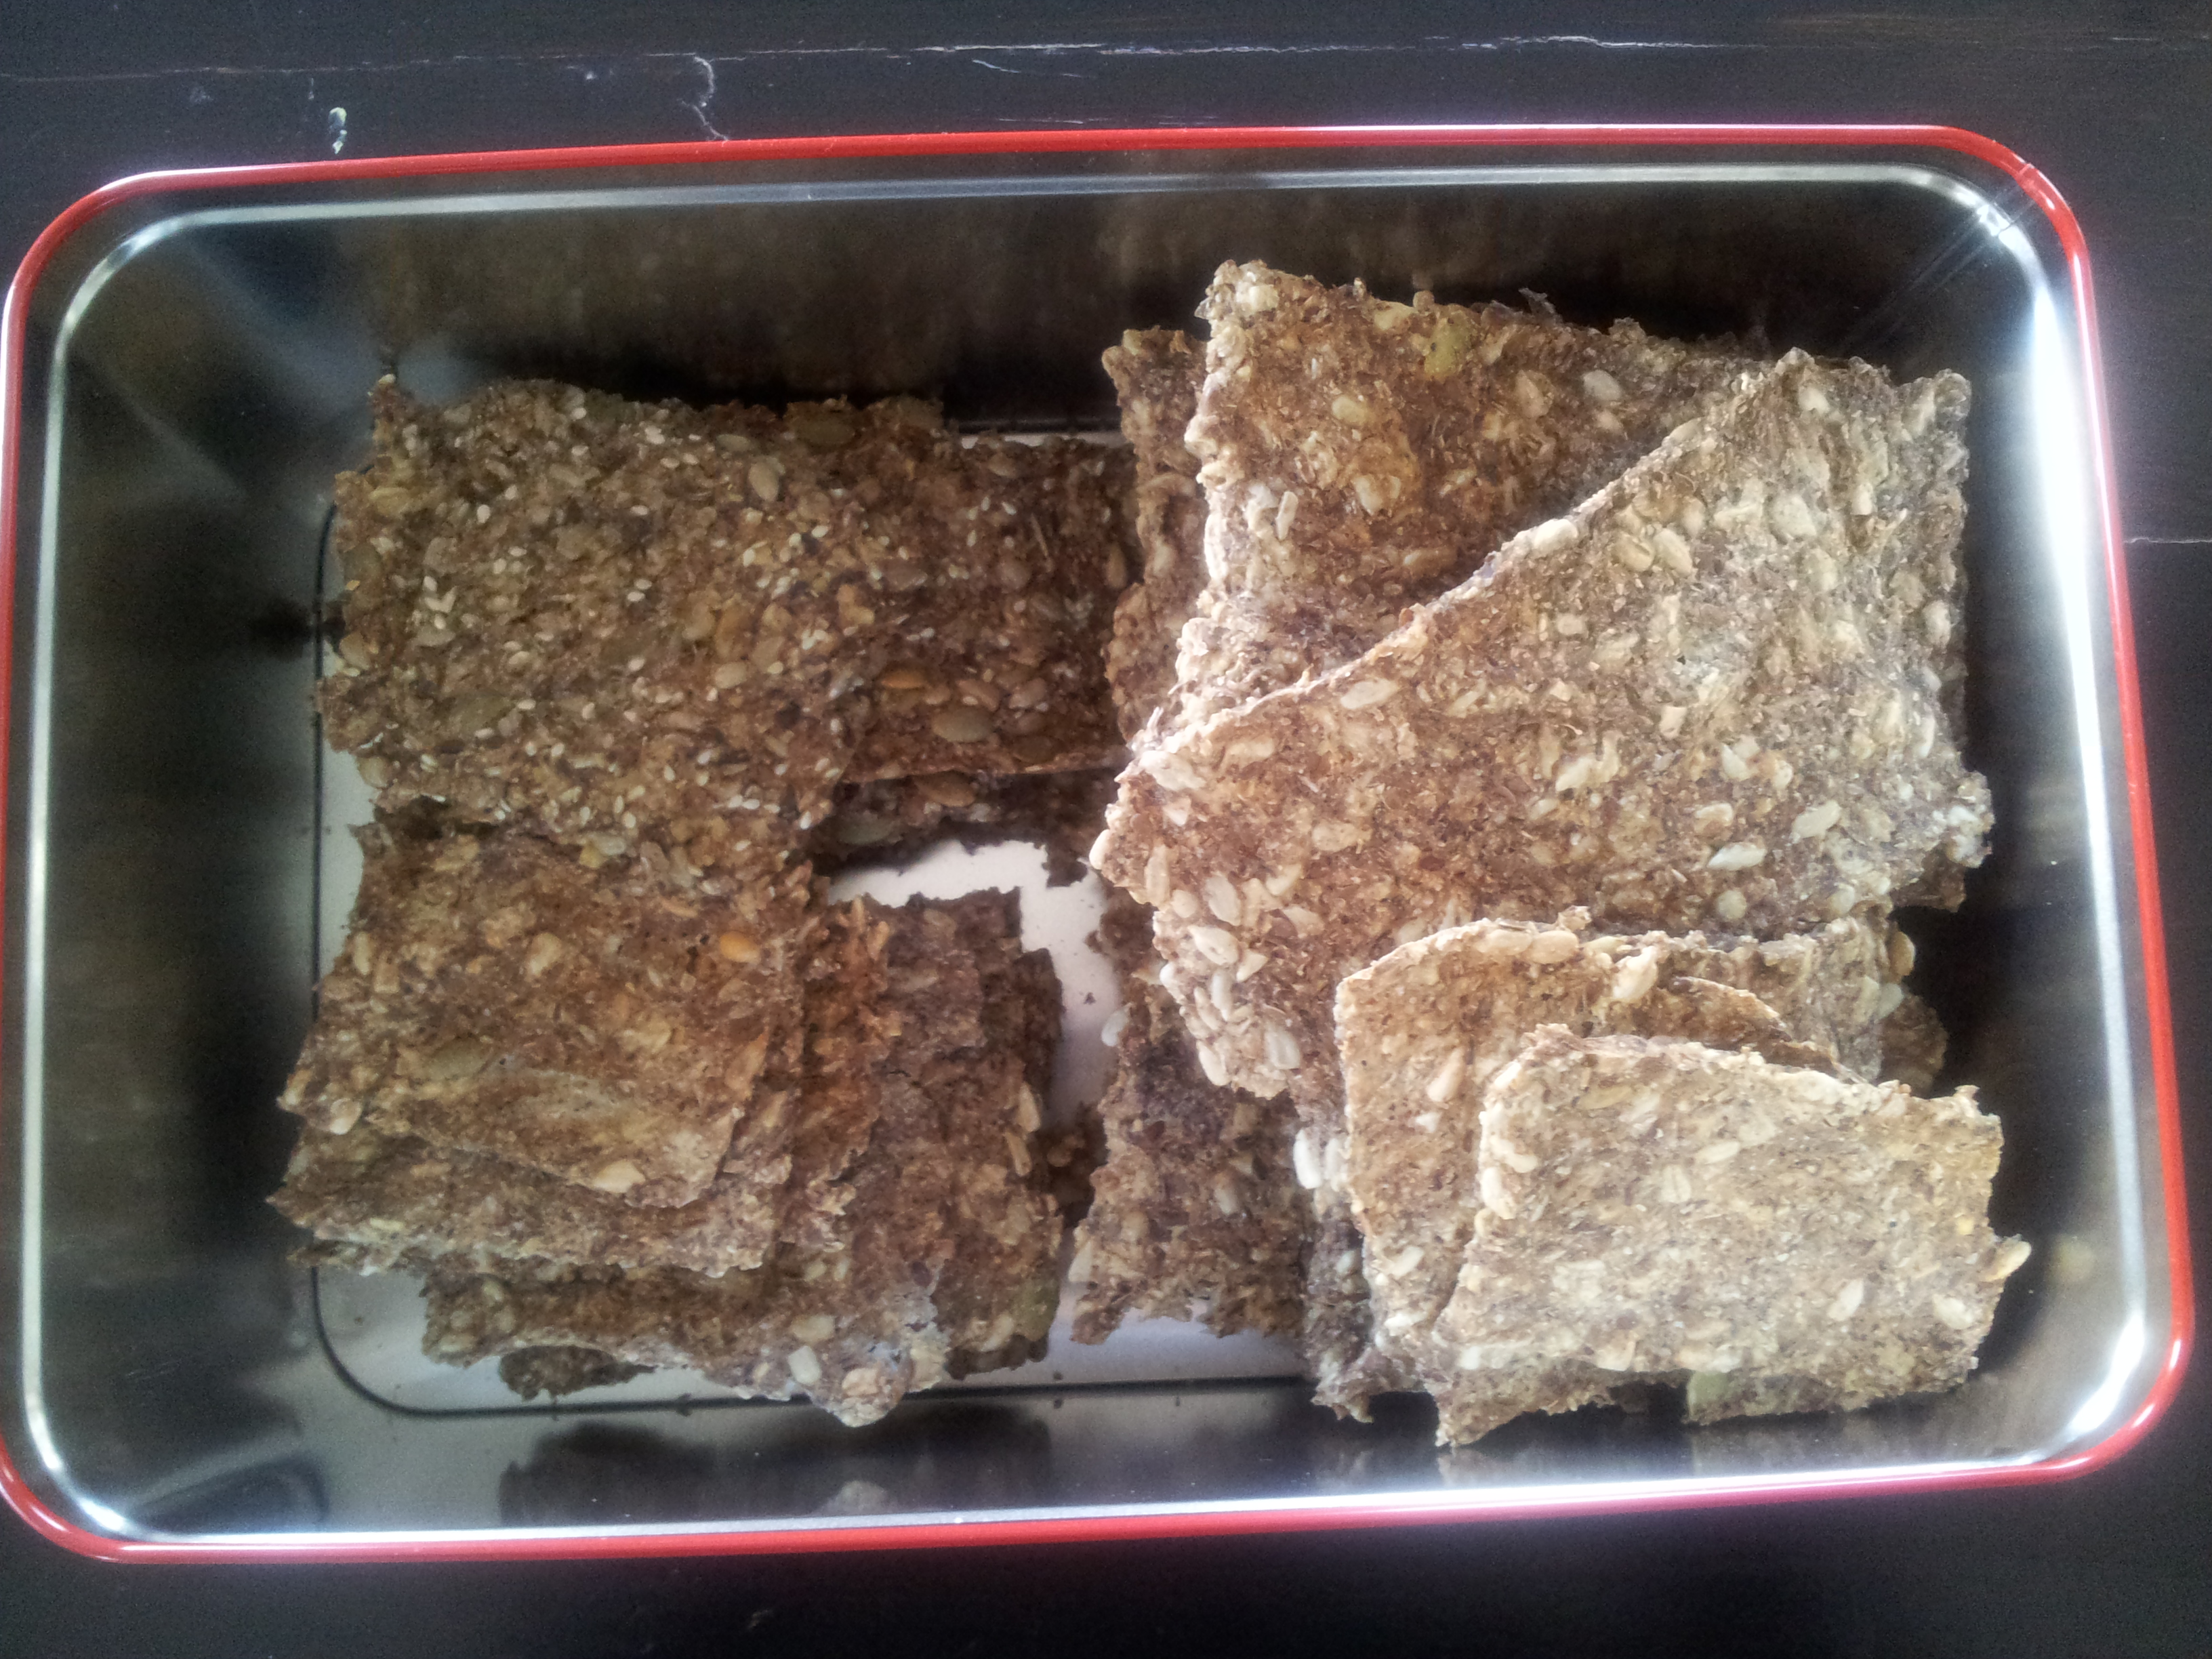
Porcini crackers


Skip the chocolates and wine. 
Give a Valentine's gift that cannot be bought from a store. 
Give your loved one some porcini crackers!
Image
2 dl wholemeal rye flour
2 dl oats (rolled or steel cut, NOT instant)
2 dl oat bran
2 dl sesame seeds
2 dl pumpkin seeds
1 dl wheat bran
1 dl flaxseed (crushed)
1 tsp porcini salt
7 dl water
Heat oven. 175 degrees C. 
Mix all ingredients and let the mixture swell. At least 30 min.
Line 3 trays with parchment paper.
Spread the cracker mixture on the trays, right up to the edges.
THIS TAKES TIME. NOT EASY. I usually place a plastic cling wrap the size of the tray on top of the mixture and spread it out with my fingers and hands. You can also use a small rolling pin.
Use a blunt knife/pizza wheel to make lines in the mixture - so that it is easier to break off the crackers when they are done.
Bake for 35-40 min. I bake all three trays at the same time. Take care they don’t burn.
Then you have to DRY the crisps. I remove the parchment paper, break off the pieces and turn them over. Low heat. 60 degrees C. Put a matchstick box at the oven door to let out the steam.
When the crisps are super crispy, they are done!  
Put them all in a tin without the lid on so that they continue to air dry.
Do resist the temptation to close the tin before the crackers are completely cooled.

Tuesday, April 23, 2013

Porcini marshmallows


image
Whipped up a batch of marshmallows and wondered what I should flavor them with. It should not come as a surprise that I thought of mushrooms. Found a bag of dried porcini which I pounded in my mortar and pestle and added to the boiling syrup. Very mild but evocative of the season that soon will be upon us.

Friday, April 12, 2013

Unboxing and trying out new macro lens for Samsung Galaxy

Package from Hong Kong
Detachable Mobile Phone Camera 
Macro Lens
The real reason I got the macro lens: 
the better to photograph mushrooms up close!
Here is a cross-section of a slice of dried porcini (Boletus edulis). 

So far, it has been worth every krone
Verdict so far: cheap, fun but limited.  

Sunday, March 31, 2013

Porcini paneer

Heat up half a gallon of whole milk.
Add porcini salt.
When the milk boils, remove from heat and add the juice of two lemons.
Sieve with muslin and hang over sink to drip dry.
When cool, weight the paneer down with your kettle bell or something heavy.
Cut into bite-size pieces, and add the paneer to various dishes or just pan fry and serve.


Wednesday, March 27, 2013

Swedish porcini cookies


75 g butter/ 2.65 oz
1 ¼ dl sugar/0.6 cups
½ dl oil (rapeseed, for example)/ 0.2 cups
2 Tbs crushed dried mushrooms (porcini, for example)
2 ¼ dl flour/1 cup
½ tsp baking powder

1. Set the oven at 150 degrees C/350 degrees F.
2.Combine butter and sugar.
3. Add oil and keep mixing.
4. Add the mushrooms.
5. Mix the flour and baking powder and add to the mixture.
6. Let the dough rest in the fridge for about half an hour.
7. Form into round balls and bake in the oven for about 15 min.

Saturday, March 23, 2013

Porcini heaven

In Italian, but that won't be a problem if you have mushroom madness.


Sunday, February 10, 2013

Cake with caramelized porcini topping


Ingredients for the cake:
2 large eggs
150 g sugar
100 g flour
1 1/2 teaspoons baking powder
25 g ground porcini (or any other mushroom)
50 g butter
1/2 dl milk

Set the oven at 175 degrees Celcius.
Melt the butter. Let the melted butter cool.
Beat eggs and sugar till it foams.
Sift in the flour and baking powder.
Add the ground porcini.
Add melted butter and milk. 
Pour the cake batter into an greased and floured tin, 20 x 30 cm.
Bake for 15–20 minutes (bottom rack).

In the meantime, make the caramellized mushroom topping.


Ingredients for the topping:
70 g butter
150 g sugar
25 g crushed dried mushrooms
2 tablespoons flour, or prefably, cornflour
2–4 tablespoons milk
Melt the butter and mix in sugar, mushrooms, flour and milk.
Leave the mixture on low heat.
Check the consistency of the mixture: it should be liquid enough to spread on the cake.
If the mixture is too thick, add more milk and leave it on low heat.
Spread the mixture over the top of the cake and place the cake back into the oven (middle rack).
Bake it further for 15–20 minuttes, or till it is golden and the topping is crisp.

Recipe in Norwegian: 


Toscakake med soppkrokan

Kakerøre:
2 store egg
150 g farin
100–120 g hvetemel
1½ ts bakepulver
25 g finknust steinsopp (eller annen lys sopp)
50 g smør ½ dl melk
Sett stekeovnen på 175 grader. Smelt smør. Avkjøl. Visp egg og sukker til eggedosis og sikt i mel og bakepulver, rør inn smør og melk. Fordel røren i smurt og strødd form, 20 x 30 cm, eller rund form. Stek kaken på nederste rille i 15–20 minutter. I mellomtiden lager du krokanen.

Soppkrokan:
70 g smør
150 g farin
25 g tørket knust sopp, f.eks. kantareller
2 ss hvetemel eller aller helst maismel
2–4 ss melk
Smelt smør i en kjele og rør inn farin, sopp, hvetemel og melk. La det småsurre en stund. Blandingen må være flytende nok til at den er lett å smøre på kaken. Hvis blandingen er for tykk, spe med litt melk og la det surre en stund til. Smør soppmassen jevnt over hele kakens overflate og sett den tilbake i ovnen, nå midterste rille. Stek ytterligere 15–20 minutter, eller til den er gyllen og overflaten stivnet. Skjær opp kaken i små eller større ruter, pynt med et tynt melisslør. Glasuren kan også stekes alene på silikon- matte/bakepapir i 12–15 minutter på ca. 175 grader. Når den er litt avkjølt brytes den i biter til krokansnop, eller grovknuses som krokan til iskrem og desserter.
Kilde: Fru Matsprell